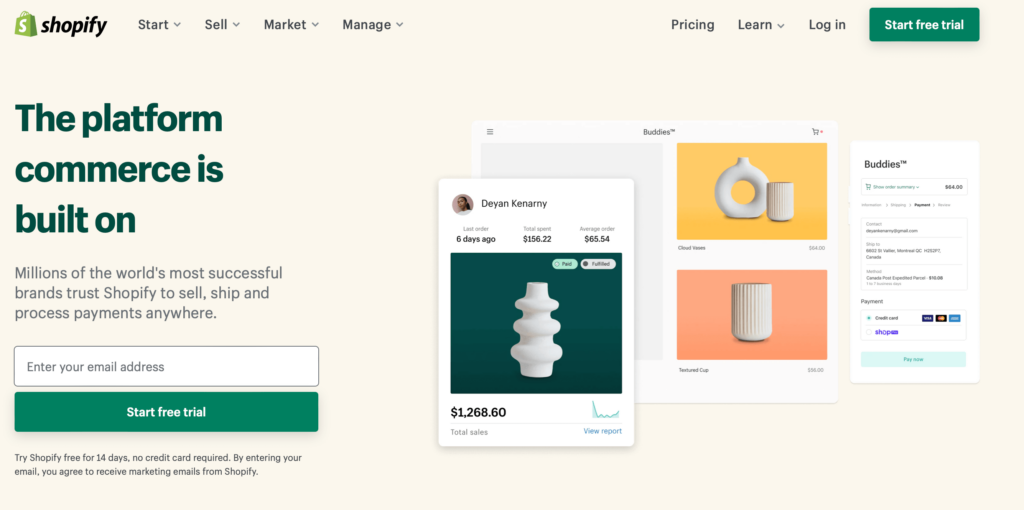
For selling things online, Shopify is one of the most famous options. Whether you are planning to sell things full-time or want to do it as a part-time side hustle, Shopify can provide a platform for you.
It is easy to set up, and you can quickly get your online business going.
If you want to start your own Shopify store, you are at the right place. This article will explain all the steps in easy to understand way so that beginners can launch their store by the end of it.
Benefits of Shopify
For people planning to set up their shops on Shopify, there are many advantages:
Easy to set up
Setting up a Shopify is an easy task. You just need an idea, and everything can be set up in a few hours.
Easy to Use
Shopify website is easy to use. Their pre-made templates are easier to navigate, and sellers can easily navigate the website to list their products.
Scalability
You can easily scale your business on Shopify. As you sell more products, you can add more listings and also add new products seamlessly.
Reliability
Shopify store is a reliable platform that millions of people use daily. You can be sure that your store will be up and running even during peak traffic hours.
Shopify offers a lot of benefits, let’s take a look at how to set up your own Shopify store.
How to Set Up a Shopify Store
1. Sign up and Choose a Shopify Plan
To start selling on Shopify, first go to their website. Then choose a Shopify plan. There are three main Shopify plans:
Basic: $29 per month
Shopify: $79 per month
Advanced: $299 per month
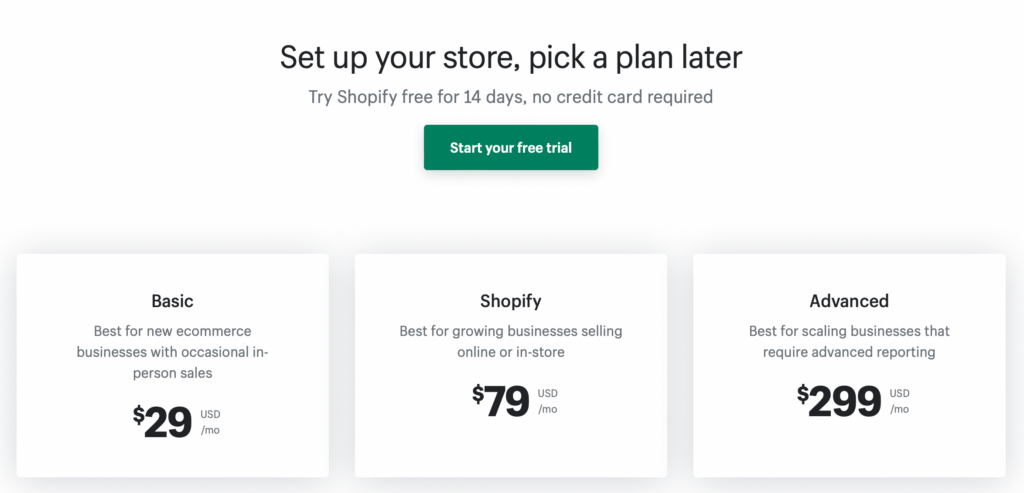
If you’re a first-time user, I will recommend choosing the Shopify Basic plan. This plan is perfect for beginners who just require basic things.
If you want to build a more complete online store, you can upgrade to the Shopify plan or advanced plan later on.
These plans have additional features, such as abandoned cart recovery and professional reports, that can help your business further.
2. Choose a Domain Name
The next step is to choose an appropriate domain name for your Shopify store. Your domain name is how customers will find your store online.
We recommend choosing a .com domain name that is short, easy to remember, and related to your business. For example, if you’re selling shoes, you might choose the domain name shoestore.com or the closest thing available.
If not bought it yet, don’t worry. Shopify will help you choose and purchase a domain name during the setup process.
3. Add An Address
The next step in setting up your store is to add an address. This address will be used for invoicing and shipping products.
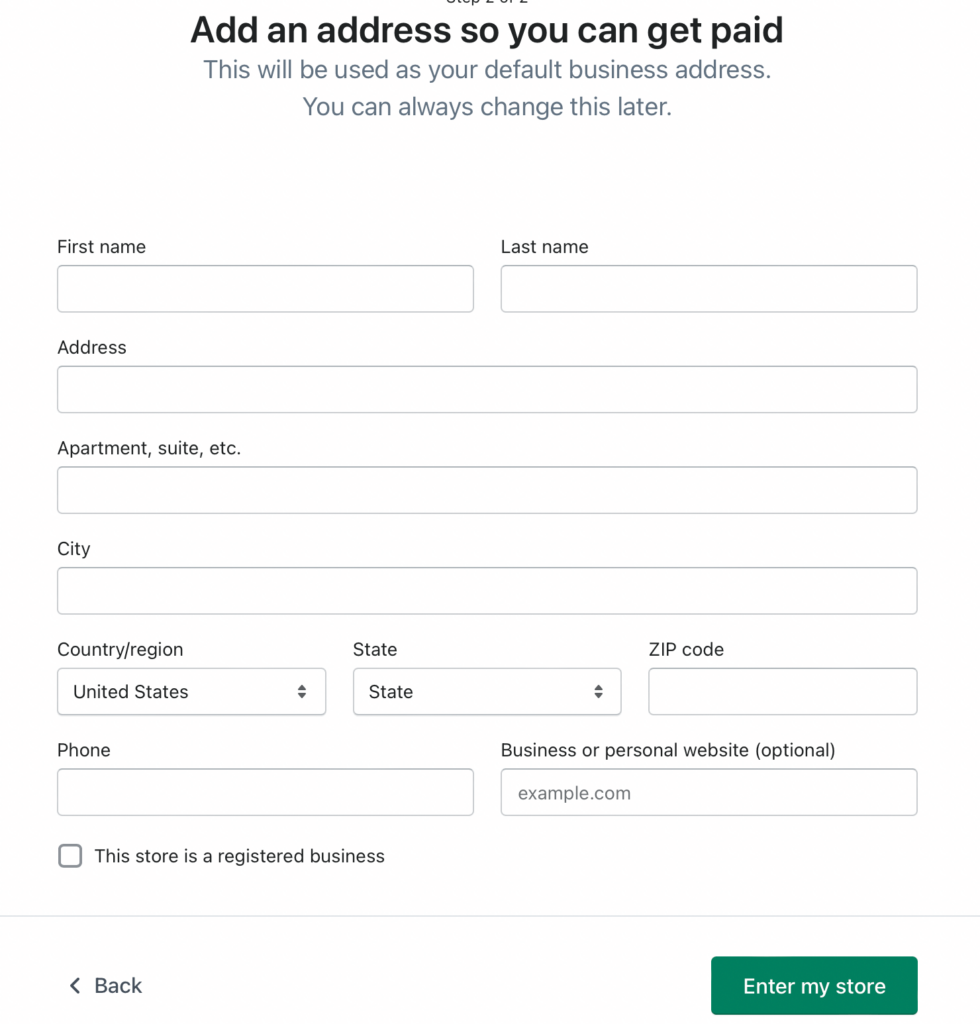
You can use your home or a rented place for this address.
Adding your address is important as you will get paid only when you verify your address.
You can always change your address later.
4. Choose a Theme
After setting up the name, you need to choose a theme. The theme is kind of a template that decides how your store will look like.
You can use a free template as a beginner. Later on, when you have the experience, you can change to paid themes.
After choosing your theme, you can modify it to match your brand.
5. Customize Your Theme
Now that you’ve chosen your theme, it’s time to customize it to match your brand.
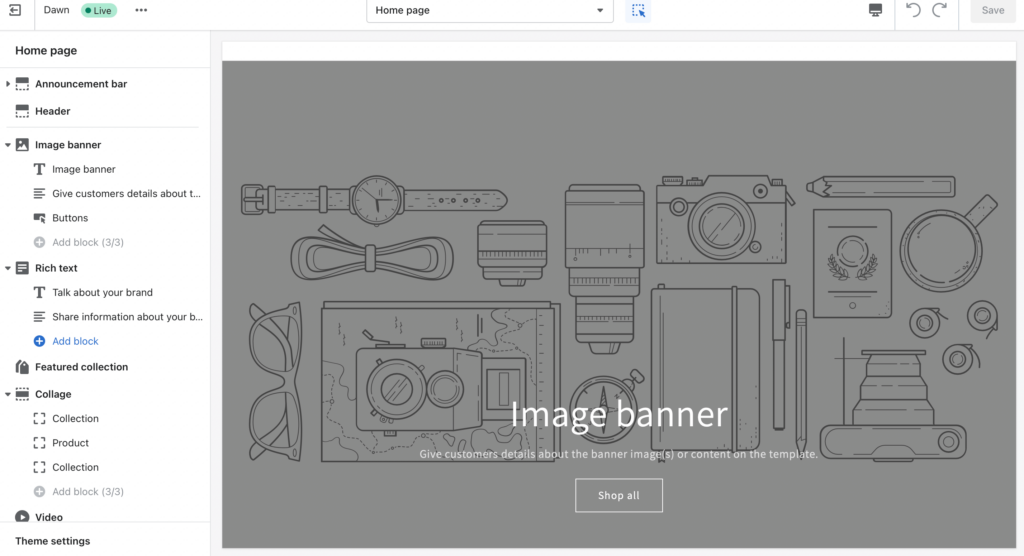
Here is how to customize your Shopify store:
- Add your logo
- Select a color theme
- Customize sections
- Set up the navigation menu
- Add pages like contact us or About page
Once you’ve made all of your changes, save your settings.
6. Set Up Your Payment Processor
You need to set up a payment system to get your payments for things you sell.
A payment processor is how you’ll accept payments from customers.
Don’t worry, you don’t have to do much. Everything is integrated on the Shopify platform, and you just have to select a few options.
They work will all major payment processors like stripe, you can choose any you prefer.
7. Add Your Product
Now you are ready to add your product to your newly made store.
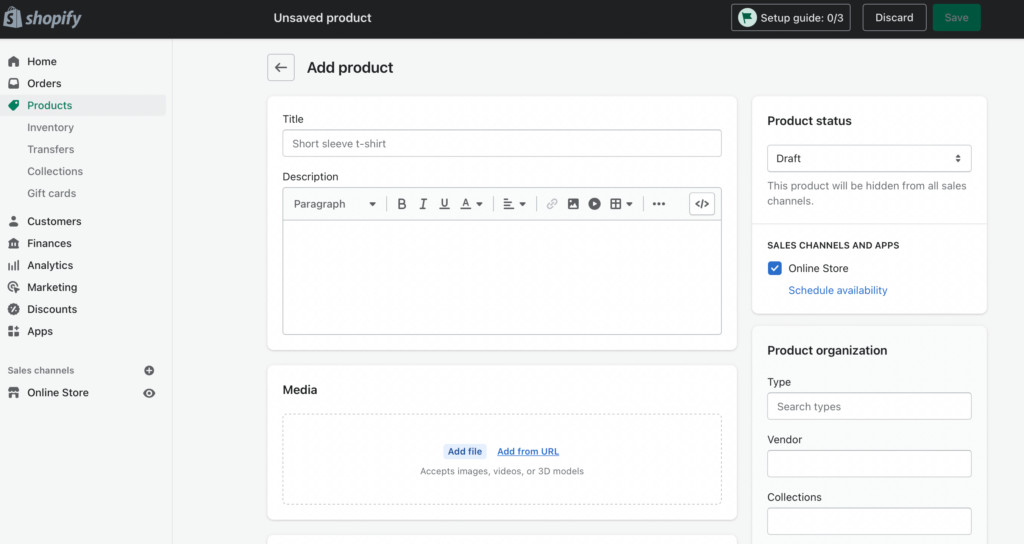
Add your product by selecting the option for that.
Make a good title that represents the image.
Then include well-taken images and all the required descriptions so that users can easily find them.
In the next few steps, I will explain how to optimize all these steps of adding products so that when you hit publish, everything is in order.
8. Enter The Name And Description Of Your Products
The first thing you’ll need to do when adding products is to come up with a title and detailed description for each product.
This may seem like an extra task, but it’s actually one of the most important parts of setting up your shop. After all, your products are what customers will be coming to your store to buy.
Keep the following things in mind as you name and describe your products:
Keep it simple
Don’t try to be too clever with your product names. Stick to something that’s easy to read and straightforward. It should represent your product by itself.
Be descriptive
A product description is an important part where you can really sell customers your product. Use strong, persuasive language to convince them that they need what you’re selling.
Focus on key benefits
What are the main benefits of your product? Make sure these are front and center in your description.
Once you’ve decided on a title and description for each product, it’s time to start filling in the rest of the details.
For each product, you’ll need to enter a price, quantity, weight (if applicable), and shipping information. You should also add images and videos to further show off your products.
9. Use The Right Keywords
To get your product to be seen on the platform, you need to understand Shopify SEO. Using the right keywords can help you rank for the desired products.
When people search for the products they want to buy, they search for them in the search window. Those phrases that they type are called keywords.
You need to include those sentences in your product descriptions so that when they are searching for that item, your product shows up there.
You can use the following methods to find the keywords that you want to target.
- Your competitor’s keywords
- Shopify’s autocomplete by typing half words
Once you’ve found a few good keywords, it’s time to start incorporating them into your product descriptions. Make sure to use them in a way that sounds natural and doesn’t feel forced.
10. Use High-Quality Images
Images are an integral part of your Shopify store.
They give customers a better sense of what your products look like and can help you sell more items.
When taking images of stuff for your store, try to take high-quality photos that are neat and clean and accurately and appropriately show the product.
Product photos should show the product from multiple angles and close-ups.
Use backgrounds that further highlight your product. You can also include props to show the product in real-life situations.
11. Set Up the Right Price
Another important part of setting up your Shopify store is to make sure you’re pricing your products correctly.
You need to figure out your production, shipping, and other overhead costs to find the right price.
If you price them too high, customers will not buy. On the other hand, if the price is too low, you will not be able to make any profit.
The best way to find the right price is to start by looking at your competition. See at what price others are selling similar products and use that as a starting point.
From there, you can adjust your prices up or down based on the quality of your product, shipping costs, and any other relevant factors.
12. Optimize Your Product Pages
Optimizing your product pages is all about making sure they’re as effective as possible at converting visitors into customers.
Follow these tips to optimize your product pages:
- Use high-quality images and videos
- Write compelling product descriptions
- Include customer reviews and testimonials
- Use strong calls to action
By taking the time to optimize your product pages, you can make sure that more of your visitors end up becoming paying customers.
13. Categorize Your Products
If you have a lot of products, you can categorize them into relevant categories to make it user-friendly, where they can find more related products.
Other than making your page user-friendly, categorizing your products also makes it easier for search engines to index your store and show your products in search results.
Start by listing the different types of products you sell. Then, group those products together into categories.
For example, a cloth seller can have categories like “jeans,” “winter wear,” and “accessories.” If you sell food, you might have categories like “chocolate,” “fruits,” and “dairy.”
Once you’ve created your categories, add them to your product pages.
14. Offer Free Shipping
Incentives can be great triggers that make people shop. Free shipping is one way to encourage customers to buy from your store.
A few case studies done on the shopping pattern of users show that after seeing free shipping, 20% more people decide to make a purchase.
If you’re not already offering free shipping, there are a few different ways you can do it:
- Sitewide free shipping
- On orders over a certain amount
- Free shipping in your local location
- Use flat rate shipping
No matter how you offer free shipping, make sure to advertise it on your website. That way, customers will know that they can get their products delivered to them for free.
15. Use Discounts and Coupons
People are always attracted by coupons and discounts. That is the tactic many companies use in year-end sales, inflating the price and offering more discounts.
By offering discounts on your products, you can make them more appealing to potential customers.
There are a few different ways you can offer discounts and coupons:
- Sitewide discount
- Discount on specific products
- Fixed amount off on specific amount order
When offering discounts, make sure to set an expiration date. That way, customers will feel a sense of urgency and will be more likely to make a purchase.
16. Set Up Shipping
The last step in setting up your Shopify store is to set up shipping.
Since you are selling physical products, you need to ship them to the buyer after a sale.
There is an option to set either flat or calculated shipping rates on the Shopify platform. You can also offer free shipping.
There are different shipping zones and profiles that you need to understand while setting up your shipping rates.
When you’re all finished, hit the “Publish” button, and your products will be live in your shop.
Start Selling on Your Shopify Store
Now you know everything about starting a brand new Shopify store, so get started today.
If you have some ideas and want to sell products online, Shopify can help you in this endeavor as it makes every step of setting up your online store very easy and convenient.
Just follow the steps and create your store.
Let us know in the comments your experience of setting up and running a Shopify store.

Sumeet is a Certified Financial Education Instructor℠ (CFEI®) and founder of MoneyFromSideHustle. He is an experienced side hustler who replaced his full-time income with side hustles. His work has been quoted on major finance websites like CNBC, Yahoo! Finance, GOBankingRates, MSN, Nasdaq, AOL, and more. He has helped thousands of people find side hustles and is here to help you find your extra source of income. More about him.